People
People keeps your staff records. It works out their pay. It also has boards to plan your work. Owners and HR managers set it up. Employees use it to ask for leave, check in and do their tasks.
▶Step by step in pictures: staff, attendance, leave and pay24 pictures. In each, an orange ring shows where to type or tap.Start →Employees and accounts
Each person who works for you has an employee record.
- Go to Employees. Press + New employee.
- Type their name, and their mobile number or email if you like.
- Type the Monthly salary (৳). The joining date is today unless you change it. Press Add employee. They start as active.
- Saving with a salary also makes their contract: from the joining date, at that salary, with no end date. You do not need to go to Contracts. They are in the next pay run.
- A bigger team? Open More: department, manager to pick them. A new department? Pick + New department… at the end of the list.
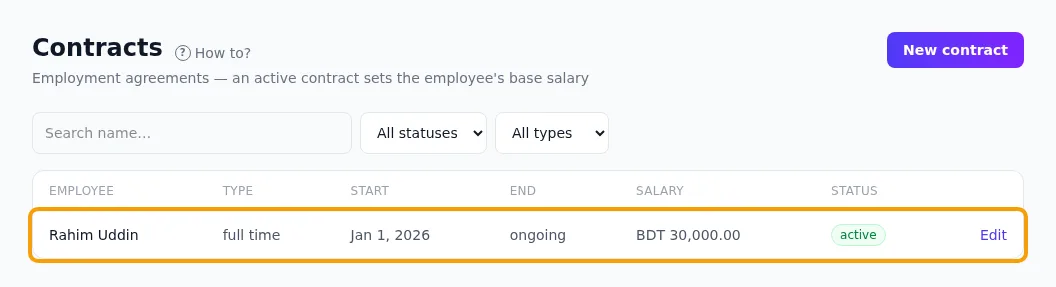
- To see or change a person, press View. You see their contracts, leave days left and leave history.
- Press Edit to change their details or status (active, on leave, job ended).
- When someone leaves, press End job. Confirm.
- End job also ends their active contract. Their status becomes Job ended.
- Records are never deleted.
- A manager must be another employee. Nobody can manage their own manager.
Link an employee to their sign-in
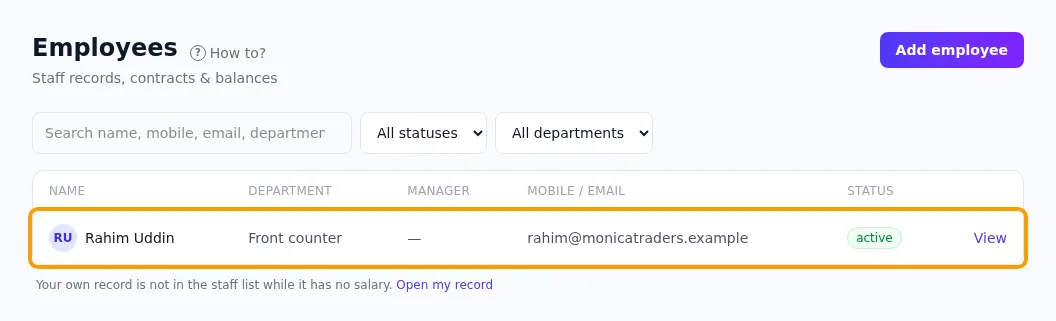
To check in with the QR code, or to ask for leave, an employee needs a link to the account they sign in with.
- First add them as a member of your business (Invite your team).
- Go to Employees. Press View on the person.
- Under Sign-in account, pick their account. Press Link.
- If a new member’s email matches an employee, the app links them for you.
- To remove the link, pick — not linked — and press Unlink.
- One account can link to only one employee.
Contracts
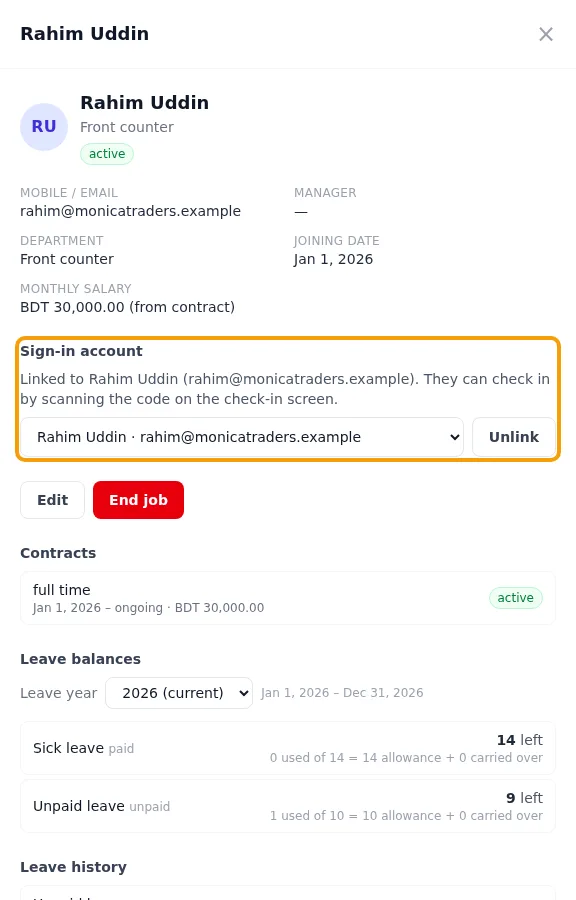
A contract says what a person does and what you pay them. The salary on the active contract is their monthly salary.
- Go to Contracts. Press + New contract.
- Pick the employee and the type of job.
- Type the start date and the Monthly salary (৳). Add an end date only if the contract has one.
- Press Add contract.
- To change someone’s pay later (a raise or a cut), press Change salary on their contract. Type the new salary and the day it starts. Their current contract ends then and stays in the list.
- Typed a salary wrong? Press Edit and fix it, until a pay run has paid it.
- A person has one active contract at a time. A new one ends the old one today.
- A contract that starts in the future shows as Waiting to start. Nothing changes until that day. Then it becomes active and sets the new salary.
- When the end date has passed, the contract shows as Expired. The monthly salary stays the same. A contract closed by End job shows as Ended.
- A person whose job has ended cannot get a new contract.
- A salary that a pay run has approved or paid cannot be edited. Use Change salary, so the list keeps what was paid when.
Leave
Leave types and the leave year
A leave type is a kind of leave, for example annual leave or sick leave.
- The quickest way: in Request leave, with no leave types yet, press Add the usual leave types. It adds casual leave (10 days a year) and sick leave (14 days a year), as in the labour law.
- Your own kind of leave: go to Leave. Open the Leave types tab. Press New leave type.
- Type a name and the Days per leave year: how many days a person gets each leave year.
- Say if it is paid. Type how many unused days can move to next year (0 for none).
- Press Save. Use Edit to change it later.
- To choose when the leave year starts, go to Settings → Leave. Pick the month. Press Save leave year.
- The leave year starts on the 1st of the month you pick. January means the normal calendar year.
- Each new leave year starts by itself. Everyone gets their days again, plus the days they could bring from last year. You do not need to do anything.
- You can still look at past years, but not change them.
- A new number of days changes this year and later years. It cannot go below the days already taken.
- Delete shows only on a leave type nobody has asked for yet.
Asking for leave and approving it
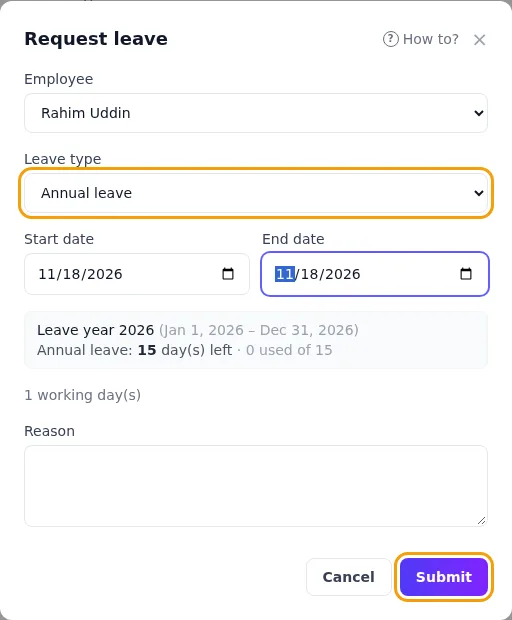
- Press Request leave. Employees ask for themselves. An owner or HR manager can ask for anyone.
- Pick the leave type and the dates. The form shows the leave year and how many days are left.
- Type a reason. Press Submit.
- An owner or HR manager opens Waiting for approval. They press Approve or Say no. The person who asked can press Cancel request.
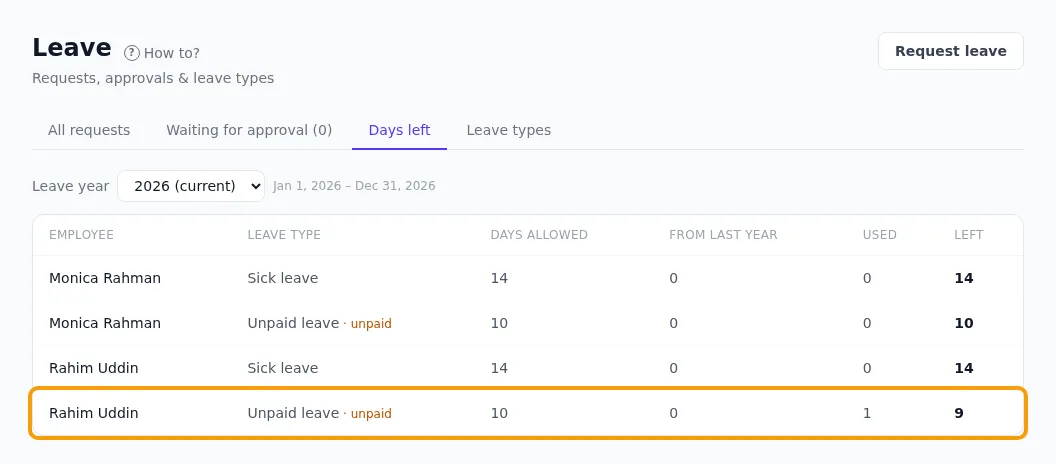
- Approving takes the days from that year’s days left. See them in the Days left tab.
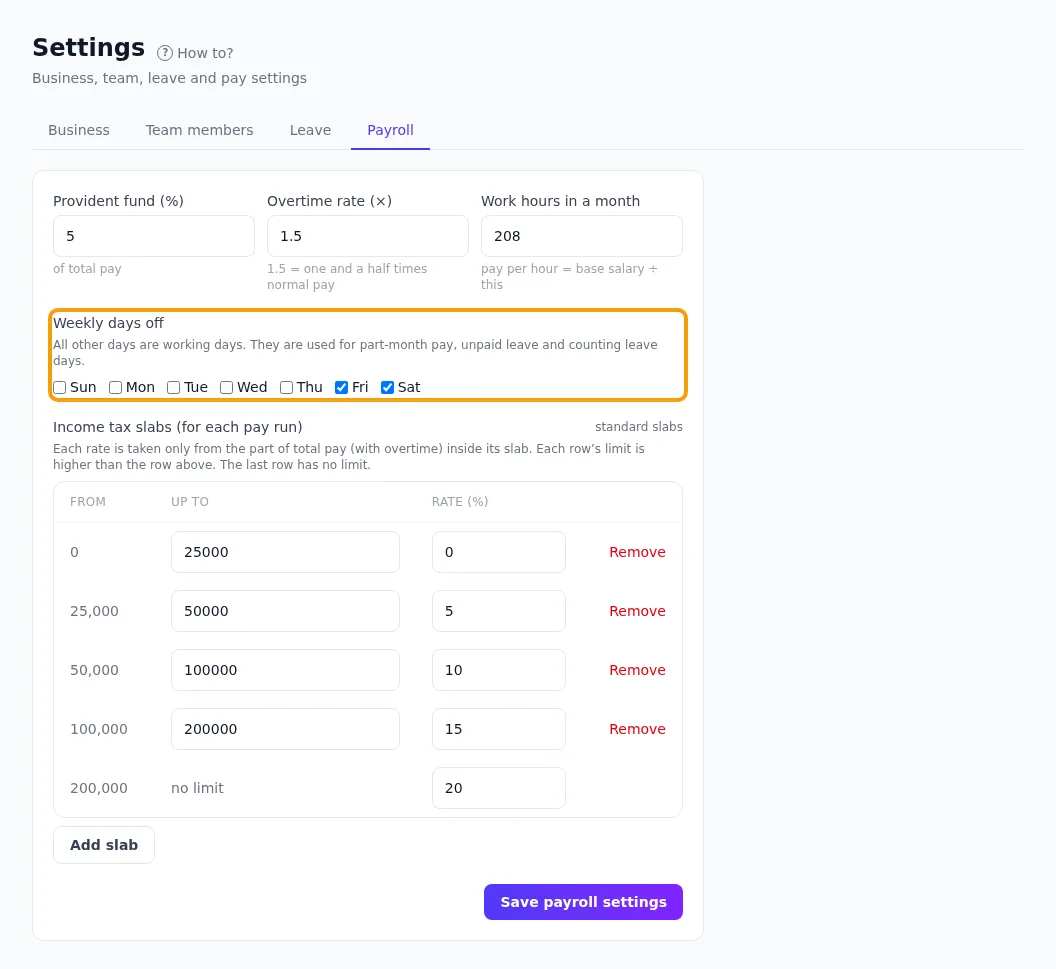
- Only working days count. Your weekly days off are set in Settings → Payroll.
- The person who asked can cancel a request. An owner or HR manager can also cancel approved leave. The days go back.
- The app refuses a request with no working days, or one that overlaps other leave.
- A request cannot run into the next leave year. Split it into two at the date shown.
- You cannot approve more days than are left.
- Approved unpaid leave lowers that month’s pay. After that month’s pay run is approved or paid, the leave cannot change.
Attendance and QR check-in
Attendance shows when each person came in and left each day, and any overtime. Times use your business’s time zone (Settings → Business).
Today’s register
The quickest way for a small shop. The owner or a manager does it on their own phone.
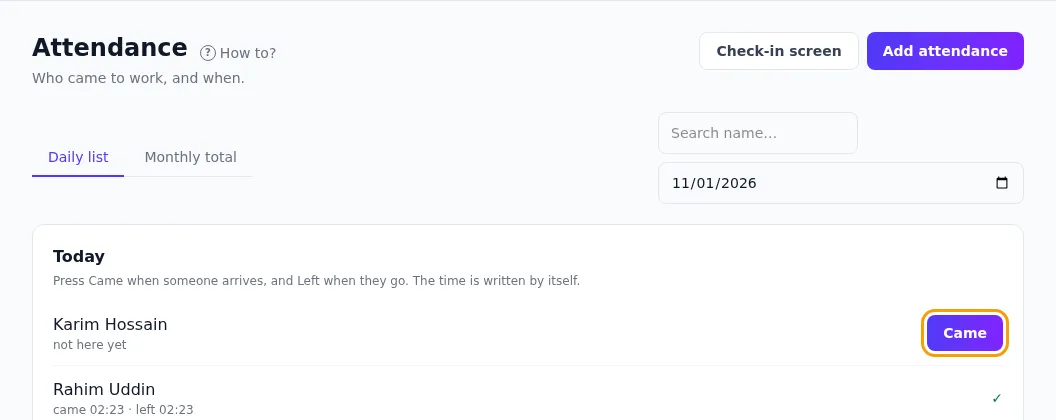
- Go to Attendance. Under Today you see every staff member.
- When someone arrives, press Came next to their name. When they go, press Left. The time is written by itself.
The check-in screen
Put a screen at the shop door. Staff scan a QR code on it with their phone.
- An owner or HR manager goes to Attendance. Press Check-in screen.
- Press Full screen to fill the screen.
- A person scans the QR code with their phone. The screen says: Use your phone camera. You need your own sign-in; ask the owner if you have none. They sign in if asked.
- The first scan of the day is check-in. The second scan is check-out.
- Press Exit to go back to Attendance.
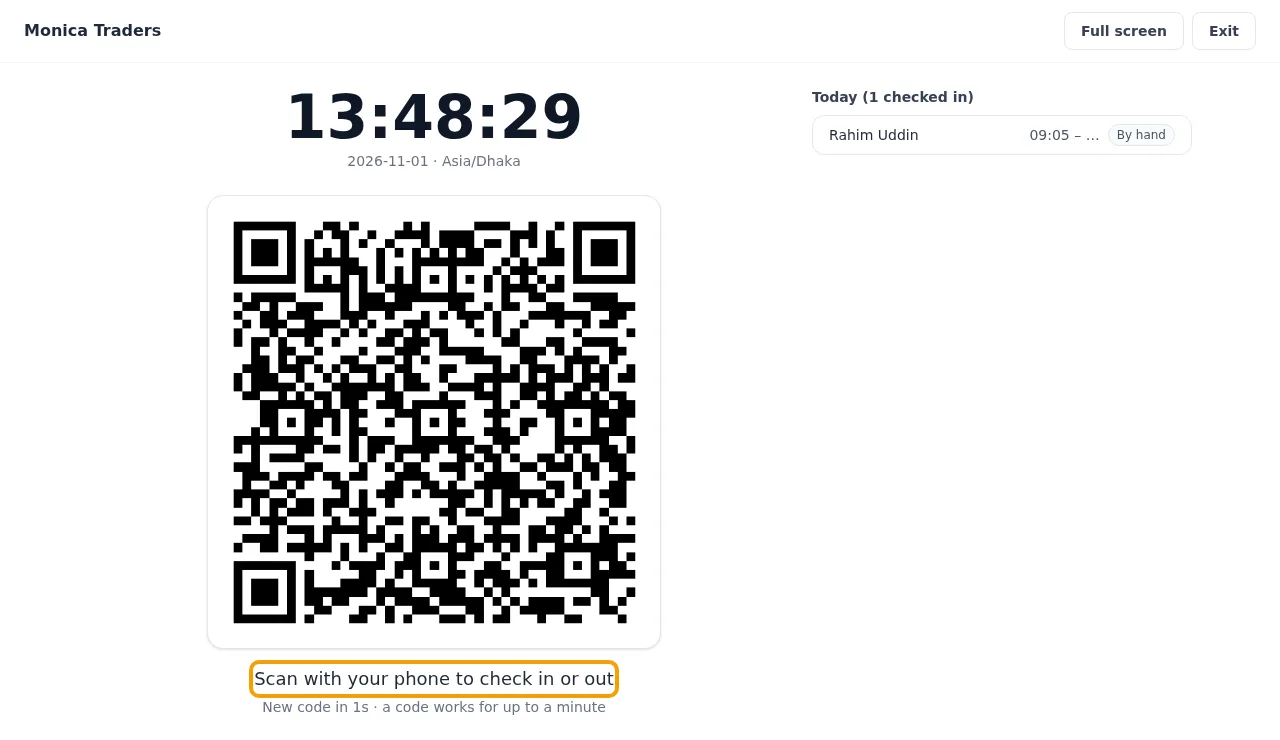
- The code changes every 30 seconds. A photo of it stops working soon.
- The person’s account must be a member of your business, and linked to an employee who is active or on leave.
- A second scan within 5 minutes of check-in is refused. So is a scan after check-out.
- Scanning never adds overtime.
Another day, overtime or a note
- An owner or HR manager presses Add attendance.
- Pick the person and the date.
- Type when they came and left, any overtime hours, and a note.
- Press Save.
- To see each person’s days and overtime for a month, open Monthly total.
- Adding the same day again changes that day. A blank box keeps what is saved.
- Filling in a blank (for example, when they left) needs no reason. Changing a time or overtime already saved asks Why are you changing it?
- Every change is kept with who made it and when. A day that was changed shows Changed — see why.
- After a pay run that covers a day is approved or paid, that day cannot be changed. Missed overtime goes on a day in the next pay period.
- The Recorded by column shows if a record came from a QR scan or was added by hand.
Payroll
Payroll works out each person’s pay and records that you paid them. A pay run is the pay for one period, usually one month.
- Once, check Settings → Payroll: the Pay period (the calendar month, or from a day such as the 8th to the 7th), how part of a month is counted (working days, calendar days or 30 days a month), and the rates: provident fund, overtime, work hours, weekly days off and income tax.
- Each pay period’s pay run is made by itself, as a draft, with everyone’s payslips. While it is a draft it follows every change by itself: a new employee, a salary, leave, attendance or a rate.
- At the end of the period, go to Payroll and open the run. Check the payslips. Press Approve.
- Pay your staff. Then press Mark as paid and say how you paid: Cash, bKash, Nagad or Bank. The app records a payment for each payslip.
- Everyone with a contract in the period gets a payslip. Someone whose job ended is paid up to their last day. An owner with no salary gets no payslip.
- Someone who joined during the period is paid from their joining day. Someone who joined earlier is paid the full period.
- A person can be paid from their own joining day instead (for example the 13th to the 12th): choose Paid for on their record in Employees. The monthly run pays their period that ends in it.
- How a contract pays: a monthly salary; by the day (days they came, from Attendance); by the hour (hours between Came and Left); or a fixed total for the job, paid in parts by its days in each period.
- Need other dates? + New pay run makes one by hand. A run you cancel is not made again by itself.
- A day already paid is never paid again.
- Two pay runs cannot cover the same dates.
- A pay run is never paid twice.
Each payslip is worked out like this:
- Monthly salary. If they joined during the period, the payslip shows Salary for the period: part-month pay for the working days they were there.
- − Unpaid leave: monthly salary × unpaid leave days ÷ working days in the period.
- + Overtime: hours × pay per hour × the overtime rate. Pay per hour = monthly salary ÷ work hours in a month.
- = Total pay.
- − Provident fund and − Income tax. Both are worked out from total pay.
- = Take-home pay. This is what the person gets.
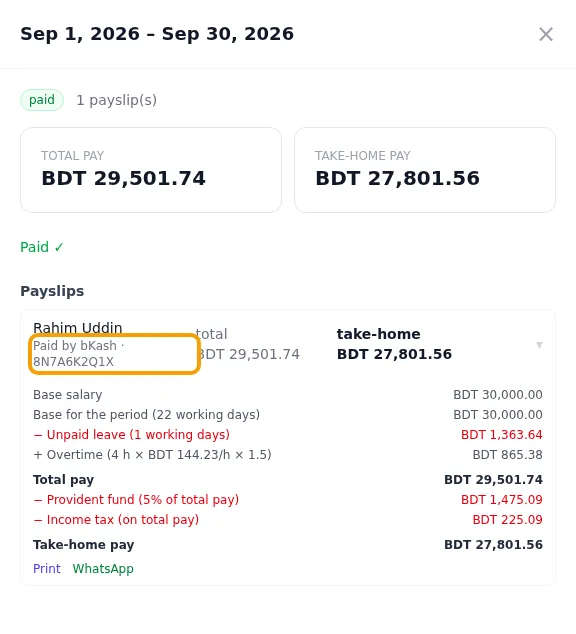
Rahim in September: 22 working days, 1 day of unpaid leave, 4 hours of overtime.
| Monthly salary | 30,000.00 |
| − Unpaid leave (30,000 × 1 ÷ 22) | −1,363.64 |
| + Overtime (4 h × ৳144.23 × 1.5) | +865.38 |
| = Total pay | 29,501.74 |
| − Provident fund 5% | −1,475.09 |
| − Income tax (slabs) | −225.09 |
| = Take-home pay | ৳27,801.56 |
Income tax slabs
Tax is worked out in slabs. Each slab is a band of pay with its own rate. A rate is taken only from the part of total pay that falls in its band.
- Go to Settings → Payroll.
- Press Add slab to add a band. Press Remove to take one out.
- To go back to the normal slabs, press Use standard slabs.
- Press Save payroll settings.
- Open any draft pay run and press Make payslips again, so it uses the new rates.
- To cancel a draft, approved or failed pay run, press Cancel pay run. Its dates are then free for a new run.
- A run that is already paid cannot be cancelled.
- Tax and provident fund come from the rates you set. This is not tax advice. Check them against the rules for your business.
Departments
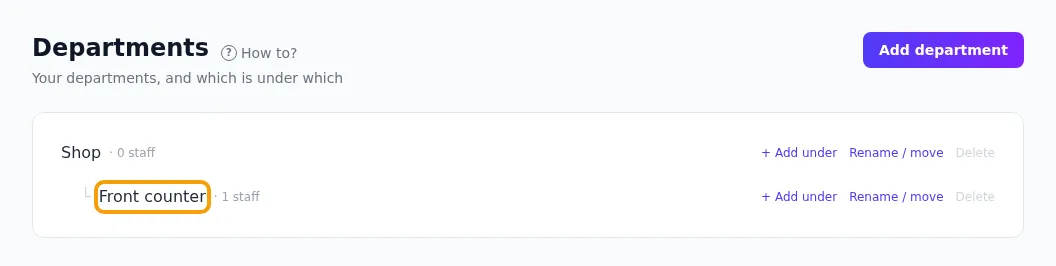
Departments are the parts of your business, for example Shop and Front counter. One department can sit under another.
- Go to Departments. Press + New department.
- Type a name. Press Add department.
- To add one under it, press + Add a sub-department.
- To change a name or move it, press Rename / move.
- To put a person in a department, edit them on the Employees page.
- Each department shows how many staff it has, for example 3 staff.
- You cannot delete a department that has staff or other departments under it.
Projects and boards
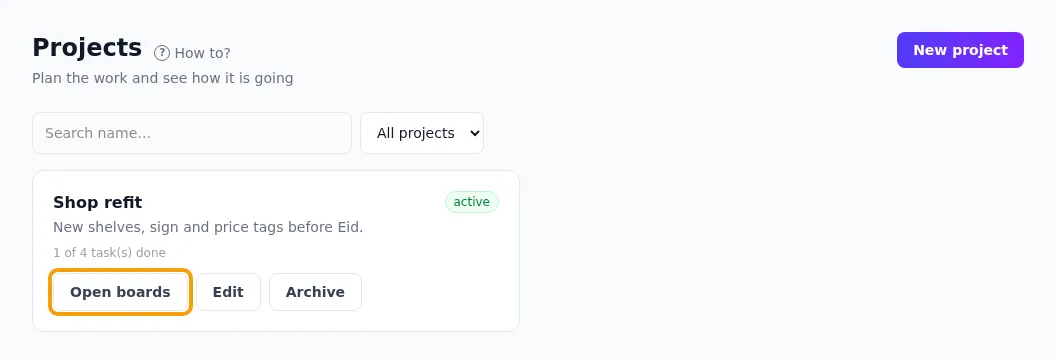
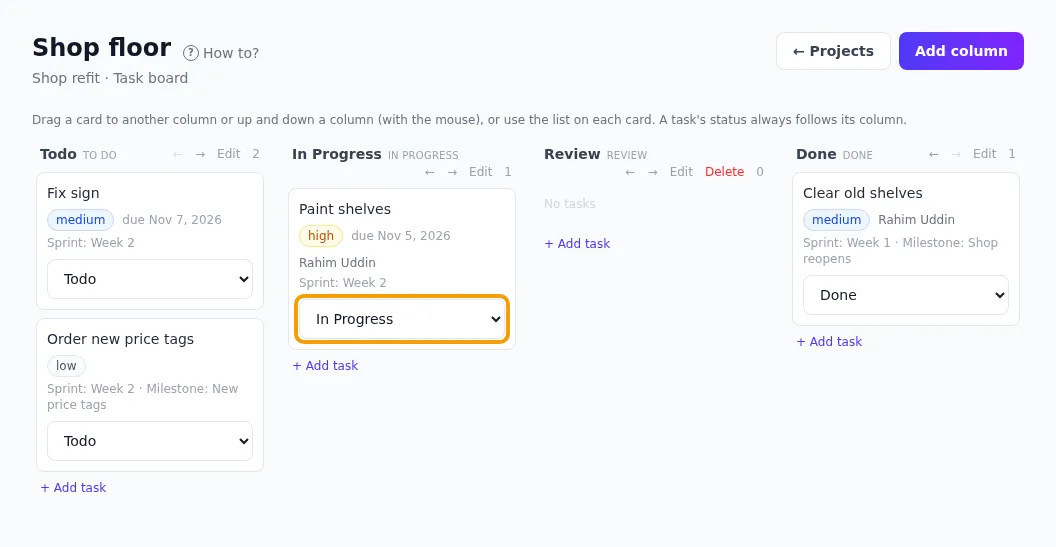
A project is a piece of work, for example “Shop refit”. A board shows its tasks as cards in columns:To do, In progress, Review and Done. An owner or HR manager makes projects and boards.
- Go to Projects. Press + New project.
- Type a name and, if you like, a description. Press Add project.
- Press Open boards. Type a name under New board name. Press Add board.
- Press Open board → to see the board.
- When a project is finished, press Archive. It is then read-only. Unarchive brings it back.
Tasks on the board
- Press + New task under a column.
- Type a title. Pick the priority, due date and who it is assigned to. Press Add task.
- To move a card, drag it to another column. On a phone, press and hold the card, then drag.
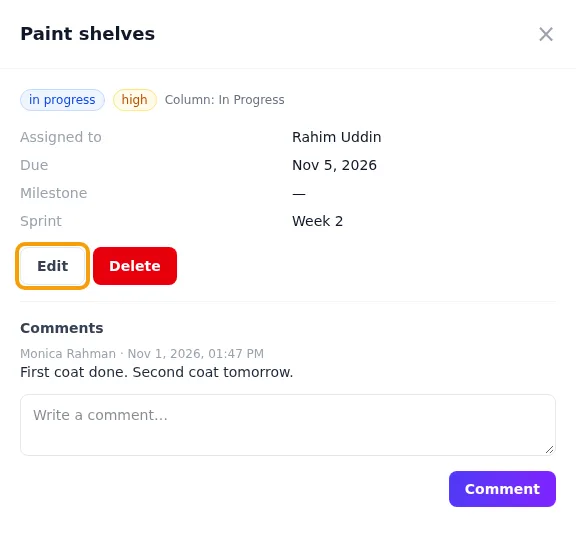
- Click a card to open it. You can read and write comments there.
- Everyone except a viewer can add and change tasks.
- A task’s status always matches its column. If a move fails, the card goes back and the app shows why.
- Each card also has a list to choose its column, for keyboard users.
- Only an owner or HR manager can delete a task. Its comments are deleted too.
- You can add, rename and move columns. You can delete a column only when it is empty.
- Edit changes a project. Rename changes a board’s name. Delete shows only on a board with no tasks.
Task list and rounds
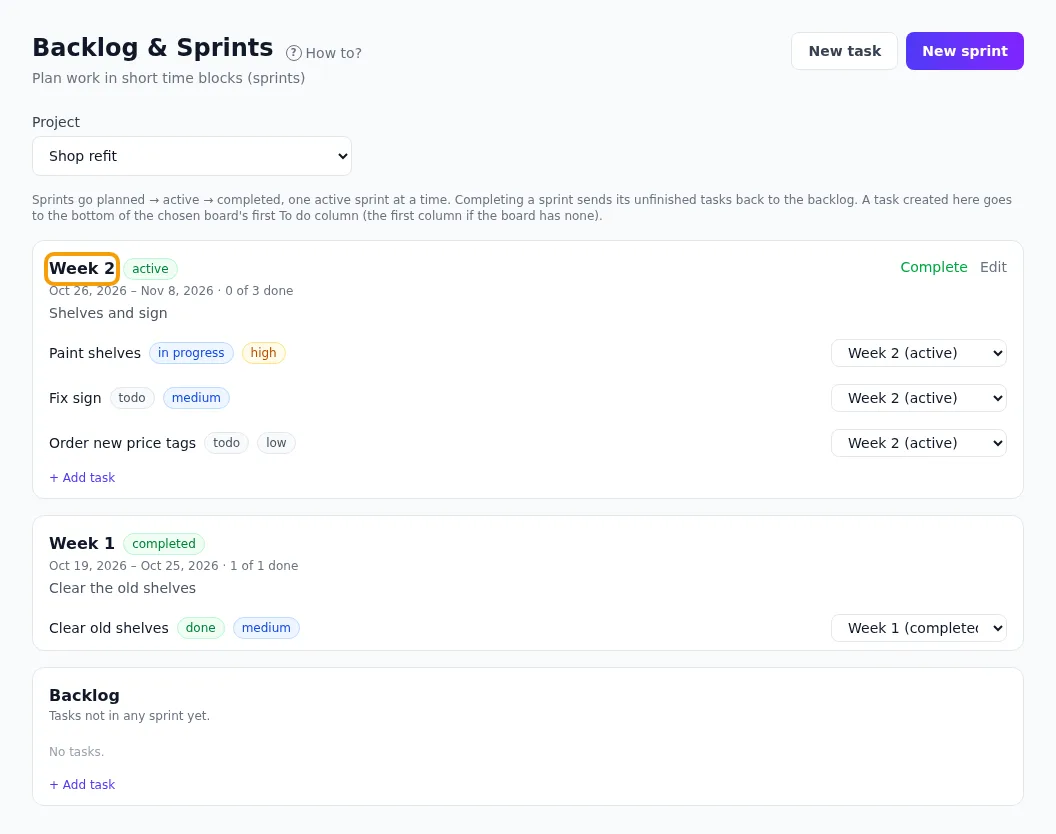
The Task list shows all of a project’s tasks. A round is a short block of time, like one week. Put in it the tasks you will do in that time. Tasks you have not put in a round sit under Not in a round yet.
- Go to Task list. Pick the project.
- Press + New round. Type a name, start date and end date. Press Add round.
- Under Not in a round yet, pick the round next to each task you want in it.
- Press Start the round.
- At the end, press Close the round.
- Only an owner or HR manager makes rounds. A new round is planned.
- A project can have one active round at a time.
- When you close a round, unfinished tasks go back to Not in a round yet. Done tasks stay with the round.
- + New task here puts the task at the bottom of the board’s first to-do column.
- Edit changes a round until it is completed. Only a planned round can be deleted. Its tasks go back to Not in a round yet.
Goals
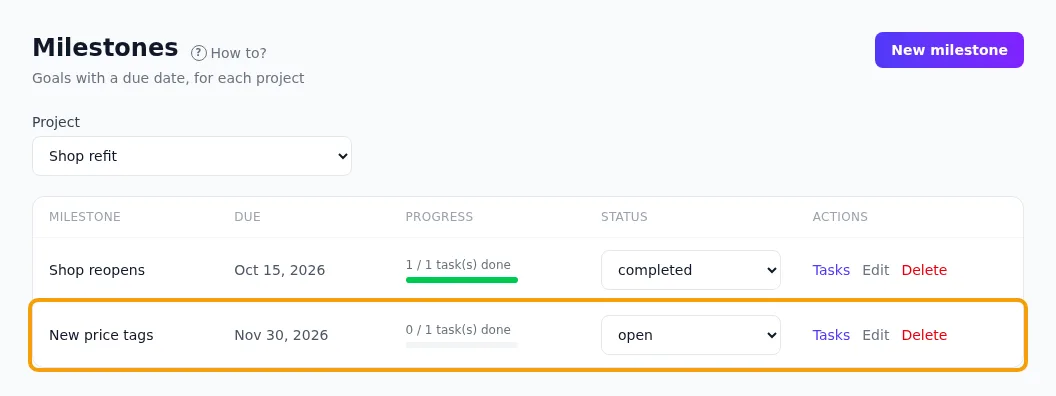
A goal is something a project must reach by a date, for example “Shop reopens”. It shows how many of its tasks are done.
- Go to Goals. Pick the project.
- Press + New goal. Type a name and due date. Press Add goal.
- Press Tasks on the goal. Pick a task and link it. You can also pick the goal in the task’s form.
- When it is done, set its status to completed.
- Progress = done tasks out of linked tasks.
- If tasks are still open, the app asks you to confirm before you complete it.
- Edit changes the name or due date. Deleting a goal keeps its tasks.